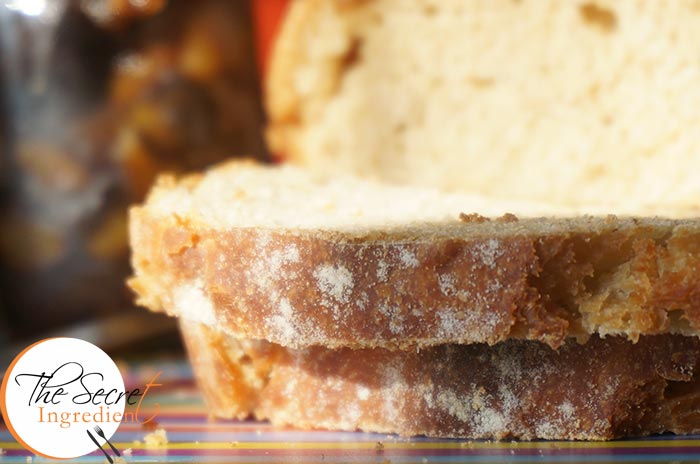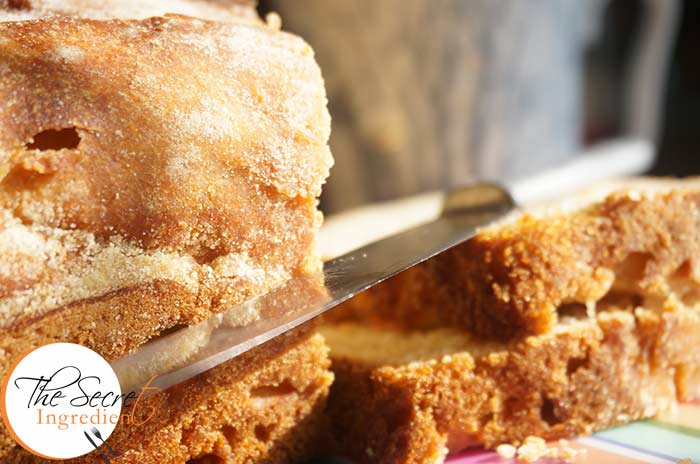
My obsession for baking breads continues. I feel its a short life and so many breads to bake 😉 yeah clearly I have lost it. Last I shared my White Sandwich Bread recipe with you. In my article “Basic Steps to bake a Perfect Bread Loaf” I have mentioned how important it is to knead a bread dough properly for the soft and fluffy bread crumb. But here is an exception.
It doesn’t mean that you cannot bake a bread without kneading. Here is why I say this. This method uses no kneading and still the gluten is developed by the process of slow fermentation or proofing which happens overnight in the fridge. If you don’t understand all this, don’t worry. Simply follow the recipe and let science do its own thing 🙂 This recipe is great if you cant bake right away. The dough proofs up overnight and complex and interesting flavours are developed. This is a fine example of bread which uses less yeast and more time.
Directions:
1. In a bowl add All Purpose Flour and Whole Wheat Flour.
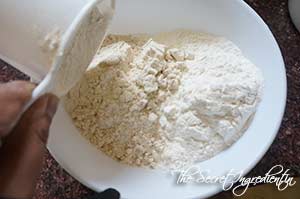
2. Add to the bowl sugar and salt and combine with the flour.
3. Add yeast and combine.
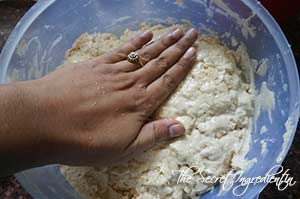
5. Whisk is together using a whisk or mix using a wooden spoon. Do not knead just mix.
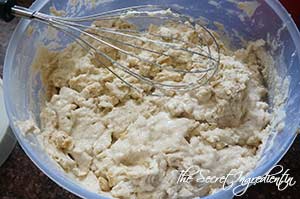
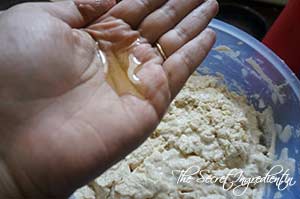
6. Take some oil in your palm and spread on the surface of it. Cover the bowl with a cling wrap and let it rest.
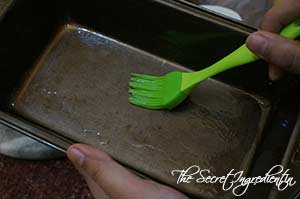
7. After 12 to 18 hours the dough should have proofed up and doubled in size. At this stage grease a 10×5 bread loaf pan or tin.
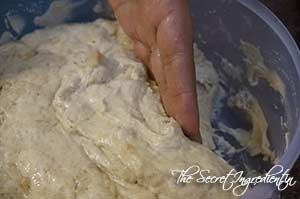
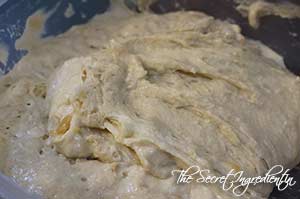
8. Stir the dough together gently and you start on one side, push your wet hand under the dough and pull up the dough all the way to fold over the top.
9. Now fold the dough in half, lift it out of the mixing bowl and place it in the loaf pan seam side down.
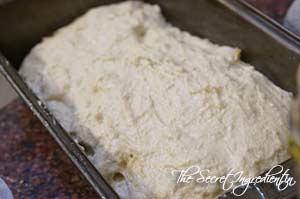
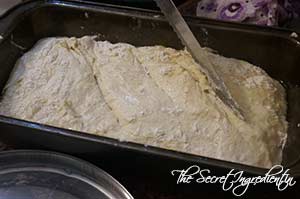
10. Make the surface levelled and smooth by applying some oil in your hands .
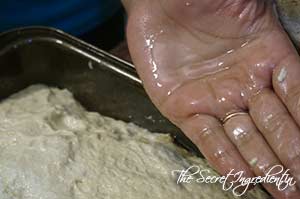
11. Sprinkle some dry flour on top.
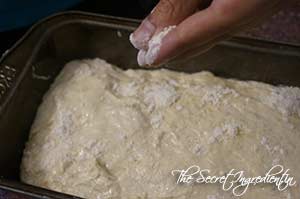
12. Make three slashes or cuts using a sharp knife which is known as scoring the bread.
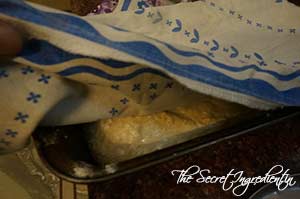
13. Cover the baking pan with a lint free kitchen towel or loosely with plastic cling wrap and let it rise for couple of hours somewhere between 1 to 2 and 1/2 hours depending upon the weather conditions, until it is barely above the tin pan.
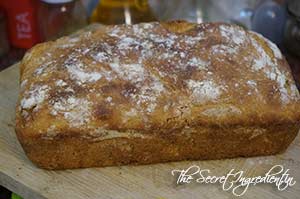
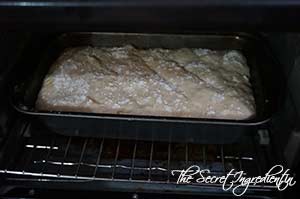
14. Bake it in a preheated oven on 190 degree Celsius for 50-60 minutes in the centre rack of your oven. If at any stage you feel the bread is browning too fast tent it with an aluminium foil and continue to bake.
15. Let it cool down completely before slicing. You can place it on a wire rack to cool down. This will help with air circulation and will not make the crust soggy.
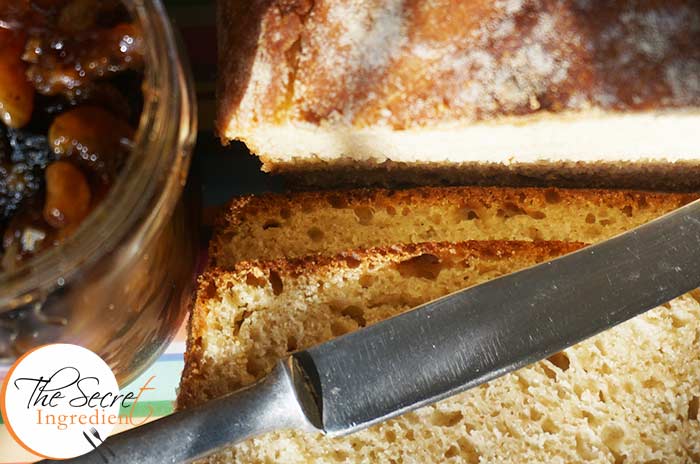
16. Slice it and smear some butter or jam or chutney on top. Enjoy this indulging home made bread.
Other Bread recipe you can try on The Secret Ingredient: White Sandwich Bread, Russian Bublici, Whole Wheat Sandwich Bread, Chinese Black Sesame Steamed Buns, Cherry Focaccia Bread with Rosemary and Sea Salt, Rosemary Garlic Focaccia Bread, Cinnamon Raisin Bread, Beetroot Bread with Garlic and Thyme, Honey Oats Bread, Domino’s Garlic Breadsticks.
 [whohit]No Knead Bread[/whohit]


- 2 cups all purpose flour
- 2 cups whole wheat flour
- 3 tablespoons sugar
- 1 & 3/4 tsp salt
- 3/4 tsp instant yeast
- 2 cups + 1 tbsp. ice cold water
- 3 tbsp oil
- In a bowl add All Purpose Flour and Whole Wheat Flour.* (See Notes)
- Add to the bowl sugar and salt and combine with the flour.
- Add yeast and combine.
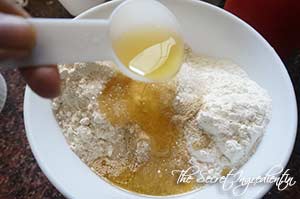
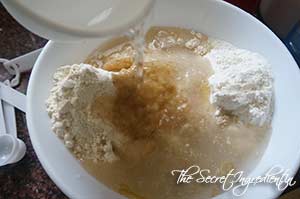
- Pour oil and water on top.
- Whisk is together using a whisk or mix using a wooden spoon. Do not knead just mix.
- Take some oil in your palm and spread on the surface of it. Cover the bowl with a cling wrap and let it rest.
- After 12 to 18 hours the dough should have proofed up and doubled in size.** (See Notes) At this stage grease a 10×5 bread loaf pan or tin.
- Stir the dough together gently and you start on one side, push your wet hand *** (See Notes) under the dough and pull up the dough all the way to fold over the top.
- Now fold the dough in half, lift it out of the mixing bowl and place it in the loaf pan seam side down.
- Make the surface levelled and smooth by applying some oil in your hands .
- Sprinkle some dry flour on top.
- Make three slashes or cuts using a sharp knife which is known as scoring the bread.
- Cover the baking pan with a lint free kitchen towel or loosely with plastic cling wrap and let it rise for couple of hours somewhere between 1 to 2 and 1/2 hours depending upon the weather conditions, until it is barely above the tin pan.
- Bake it in a preheated oven on 190 degree Celsius for 50-60 minutes in the centre rack of your oven. If at any stage you feel the bread is browning too fast tent it with an aluminium foil and continue to bake.
- Let it cool down completely before slicing. You can place it on a wire rack to cool down. This will help with air circulation and will not make the crust soggy.
- Slice it and smear some butter or jam or chutney on top. Enjoy this indulging home made bread.
- * If you are baking on a wet rainy day, reserve a couple tablespoons of water. Mix the dough and add the remaining water only if it is not too wet. Dough absorbs moisture from the air.
- ** If you are baking on a hot day or your kitchen temperature is high, consider putting the dough in the refrigerator after an hour. Cold temperature retards yeast growth so you will be able to get the flavors from the long rise without over-proofing.
- * This is a wet dough and will be hard to handle. Moisten you hand with water to make it easier to handle.
