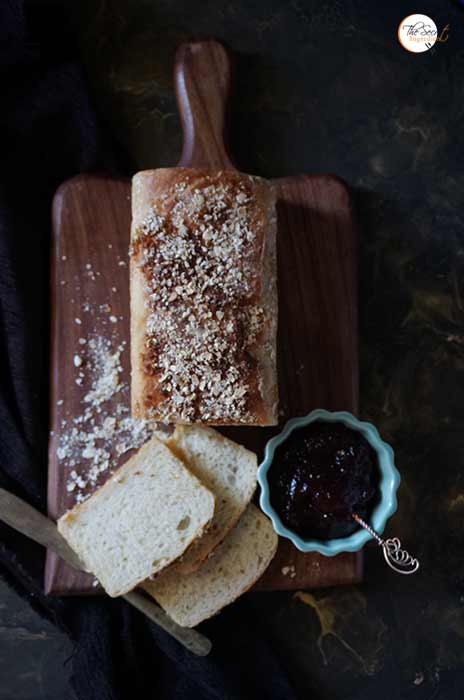
Baking a perfect bread was always my dream endeavor. With this recipe that dream has been accomplished. My household does not buy any commercial bread now. The home made bread is not only hygienic but also full of flavour and nutrition. This honey oats bread recipe is a keeper. Its been so many years I have been following this and it has never failed me.
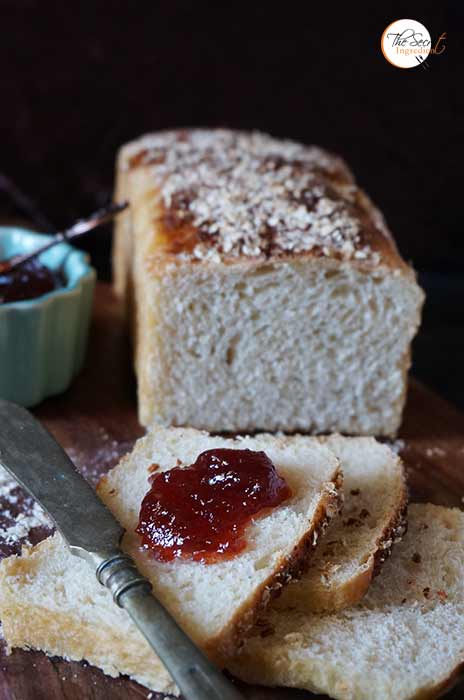
Its no rocket science just follow the recipe and you will have the most beautiful bread loaf ever. I bet you will never go back to the market baked bread ever. I am pairing this with my delicious 3 ingredient Strawberry Jam, which is like the best thing ever.
Directions:
1. In a container take some lukewarm water. It should neither be hot nor cold, just hot enough to comfortably put your finger into it . The right temperature of the water is very important for yeast to activate. Put yeast into it.
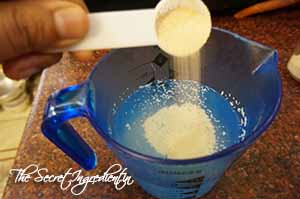
2. Along with yeast add honey.
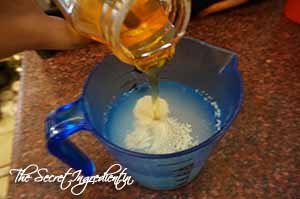
3. Give it a gentle stir with a fork and let it stand and activate for 5-7 minutes.
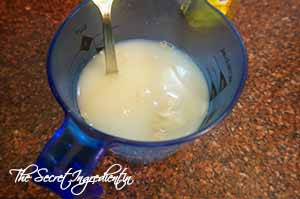
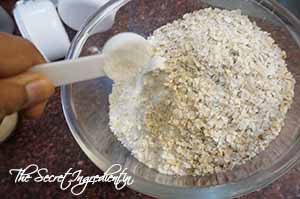
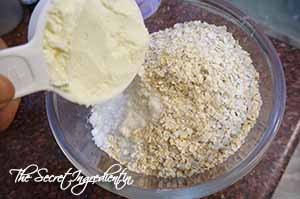
4. In the meanwhile in a bowl add All purpose Flour, Oats, Salt and Milk Powder.
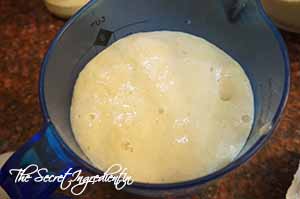
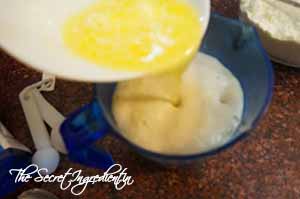
5. You know your yeast is activated when you see the mixture all frothy and spot some bubbles on top. Add melted butter.
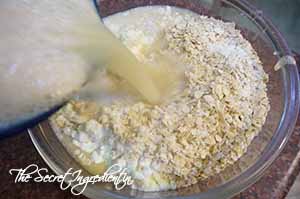
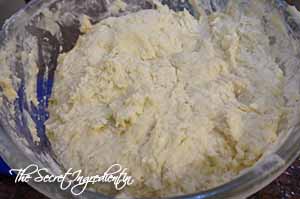
6 . Now Add this to the dry ingredients little by little and combine to form a little sticky dough. You can bring it on your counter and knead it for another 5- 7 minutes till it forms a smooth dough.
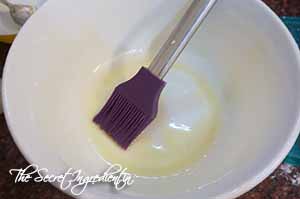
7. Grease a big sized bowl with vegetable oil and place the dough ball into it. Oil the dough top as well so that it does not form a crust.
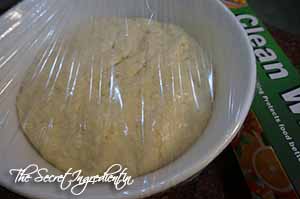
8. Cover the bowl with a plastic wrap or a wet kitchen towel.
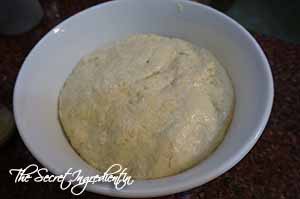
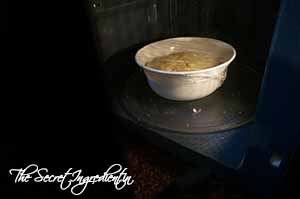
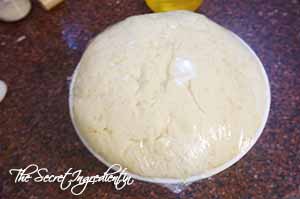
9. Place the bowl undisturbed to rise in a warm place for atleast an hour and a half preferably in an unplugged microwave. The dough should double up in volume.
10. After the dough has proofed up. Remove it from the bowl, sprinkle some flour and place it on your counter top and knead for couple of minutes.
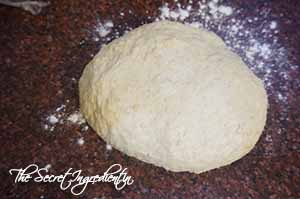
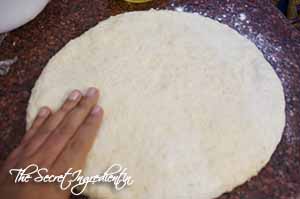
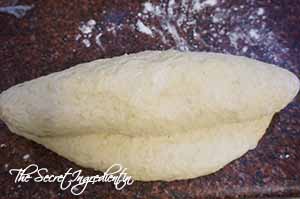
11. Roll the dough with your finger tips to form a not so perfect circle and start folding from one end.
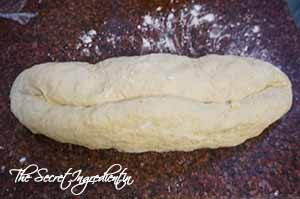
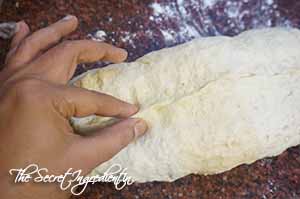
12. Fold it from from other end as well and pinch to seal the ends.
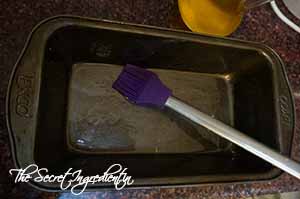
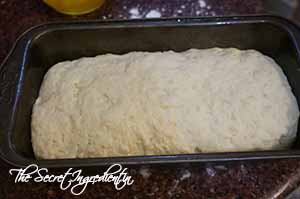
13. Grease a 9×5 inches bread pan and carefully place the folded dough into it, seam side down.
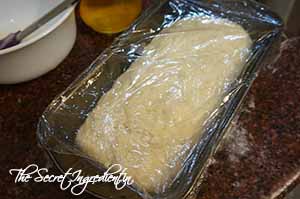
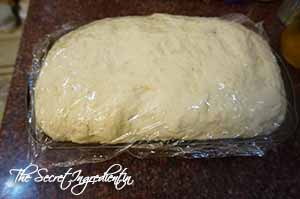
14. Cover it loosely with a cling wrap or wet kitchen towel and let it stand for another one hour till it doubles up once again.
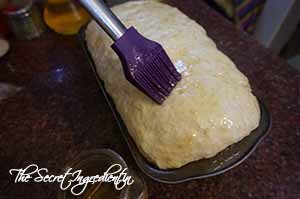
15. Now without deflating the risen dough, brush honey generously on the top face of the bread.
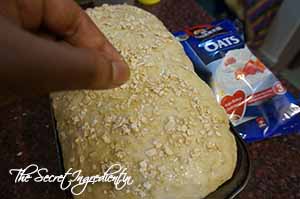
16. Sprinkle some oats on top.
17. Let the bread bake for 40 minutes or so or until the bread turns golden brown in colour on preheated oven on 350 F (Learn about Oven Temperatures and Conversions). See the notes if the bread starts getting more darker colour. Let it cool completely on wire rack before slicing it.
Other bread recipes you can try : White Sandwich Bread, Vegetarian homemade Pizza, Russian Bublici, Whole Wheat Sandwich Bread, Chinese Black Sesame Steamed Buns, Cherry Focaccia Bread with Rosemary and Sea Salt, Rosemary Garlic Focaccia Bread, Cinnamon Raisin Bread, Beetroot Bread with Garlic and Thyme, Honey Oats Bread, Domino’s Garlic Breadsticks.
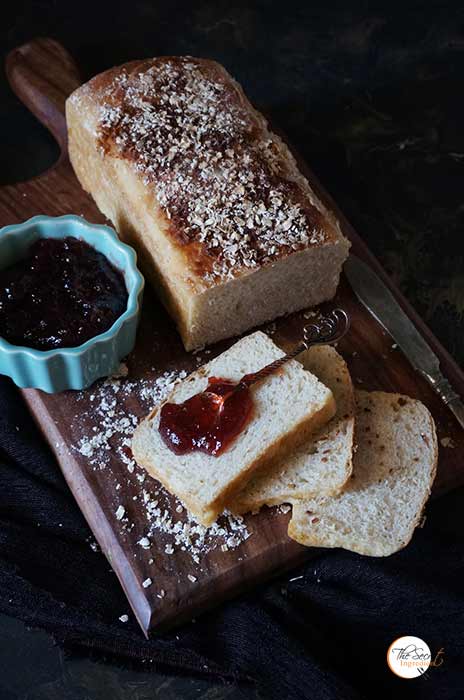
Sending to YeastSpotting


- 2&1/4 tsp Active Dry Yeast
- 2 tsp of Salt
- 1/4 cup of Honey
- 3 Tbsp of Butter, melted
- 1-1/3 cup of Warm Water
- 4 to 4.5 cups of All Purpose Flour
- 1 cup of Old Fashioned or Quick Oats
- 1/3 cup Dry Milk Powder
- 2 Tbsp of Honey
- 2 or 3 Tbsp of Oats
- In a container take some lukewarm water. It should neither be hot nor cold, just hot enough to comfortably put your finger into it . The right temperature of the water is very important for yeast to activate.
- Along with yeast add honey.
- Give it a gentle stir with a fork and let it stand and activate for 5-7 minutes.
- In the meanwhile in a bowl add All purpose Flour, Oats, Salt and Milk Powder.
- You know your yeast is activated when you see the mixture all frothy and spot some bubbles on top. Add melted butter.
- Now Add this to the dry ingredients little by little and combine to form a little sticky dough. You can bring it on your counter and knead it for another 5- 7 minutes till it forms a smooth dough.
- Grease a big sized bowl with vegetable oil and place the dough ball into it. Oil the dough top as well so that it does not form a crust.
- Cover the bowl with a plastic wrap or a wet kitchen towel.
- Place the bowl undisturbed to rise in a warm place for atleast an hour and a half preferably in an unplugged microwave. The dough should double up in volume.
- After the dough has proofed up. Remove it from the bowl, sprinkle some flour and place it on your counter top and knead for couple of minutes.
- Roll the dough with your finger tips to form a not so perfect circle and start folding from one end.
- Fold it from from other end as well and pinch to seal the ends.
- Grease a 9×5 inches bread pan and carefully place the folded dough into it, seam side down.
- Cover it loosely with a cling wrap or wet kitchen towel and let it stand for another one hour till it doubles up once again.
- Now without deflating the risen dough, brush honey generously on the top face of the bread.
- Sprinkle some oats on top.
- Let the bread bake for 40 minutes or so or until the bread turns golden brown in colour on preheated oven on 350 F.
- Let it cool completely on wire rack before slicing it.
- The quantity of All Purpose flour varies from flour to flour. Keep adding little till you get a non sticky dough.
- You can microwave honey for 5 seconds before brushing it on surface of Bread. It helps to make it runny.
- If you feel at any stage during baking your bread is getting much darker in colour than it should do not panic. Simply tent or cover the top of the bread pan with some Aluminium Foil.
